Admin
Admin
Posts : 148
Join date : 2011-11-29
 | | Subject: Lesson 5: Using a template Wed Nov 30, 2011 12:17 am | |
| Of course a
lot of us use templates wit our tags. Here I'm going to show you how to
use a template, a simple way. The next lesson I'll show you how to use
templates another way.
Firs things first, you need this template here: http://www.deliciousscraps.com/2011/01/new-free-commercial-use-scalloped-heart.html
make sure you leave her some love!
-Have
your color palette open! You will notice that I usually work with the
palette open on both sides of my PSP. This works better for me.
Next
you are going to open your template in PSP....make sure you open the
PSD or PSPIMAGE. We need to be able to work with the layered version.
So once you open the template in PSP this is what you will see:

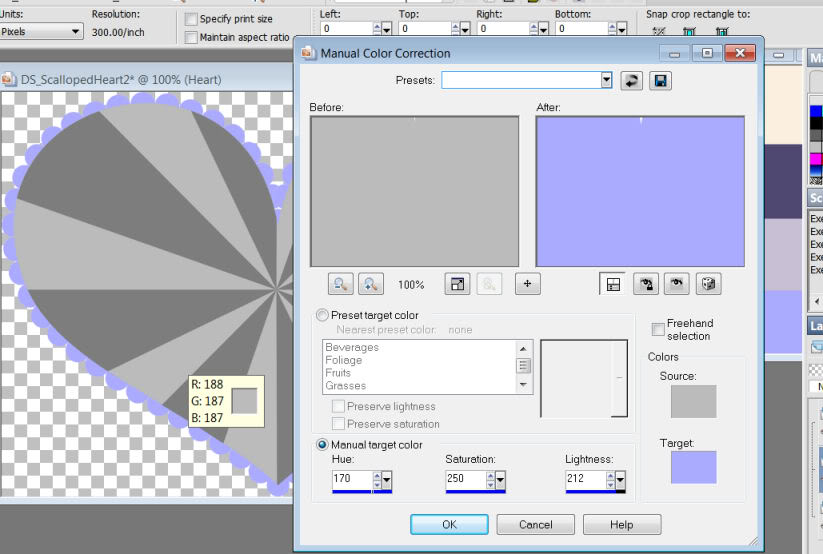
Now we're going to colorize each layer. Using your MCB (manual corection button, refer to paper lesson).
Once
you hit the MCB, a window comes up asking you what you want to change
the color to. Move the window to the side a little like I have so you
can see which layer you are working with. Right now it should be the
scalloped heart layer. Move your mouse so it hovers over the scalloped
edge and the dropper tool comes up. What we're going to do is "pick up"
that color. Click on it and it will pick it up. The top colored box in
your window will now change to that color. On the bottom color box,
click it and choose the color you want to change it to. Click ok.
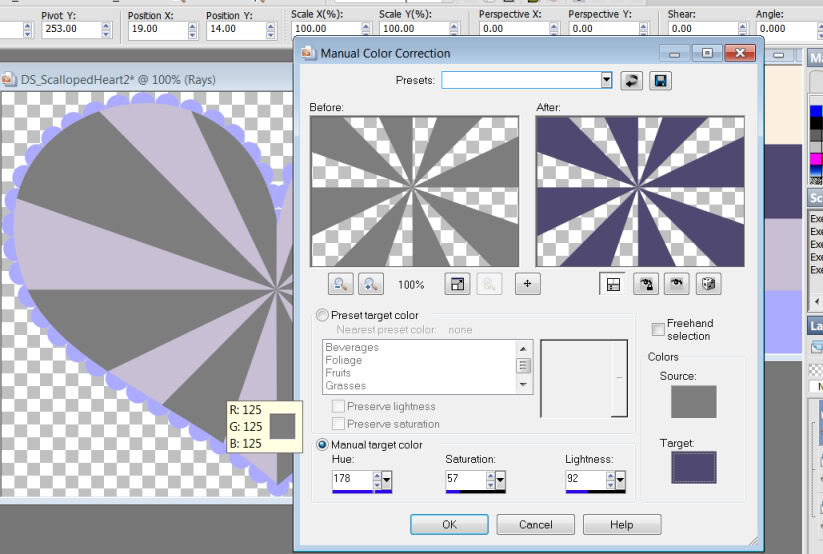
Next
you are going to repeat that process with the next layer. Remember to
pick up the original color of the template! Just like before
So now we're going to do the same thing for the next layer. Remember to pick up the color and drop in a new one!
Now the fun part!!! We're going to do some "shading" to make it pop out and look a bit more three dimensional.
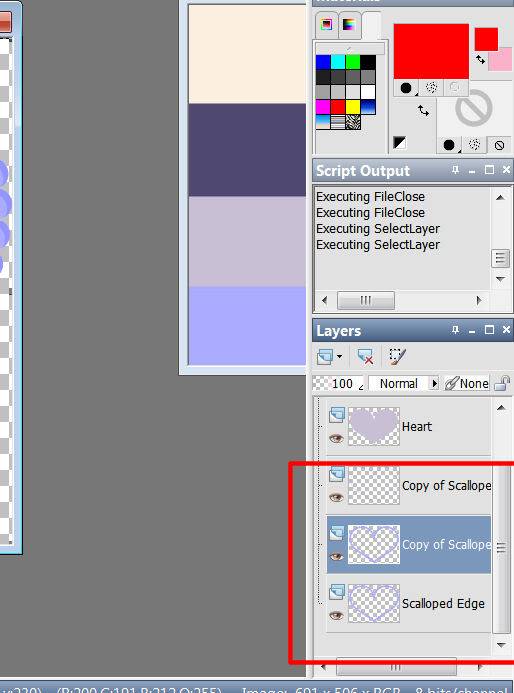
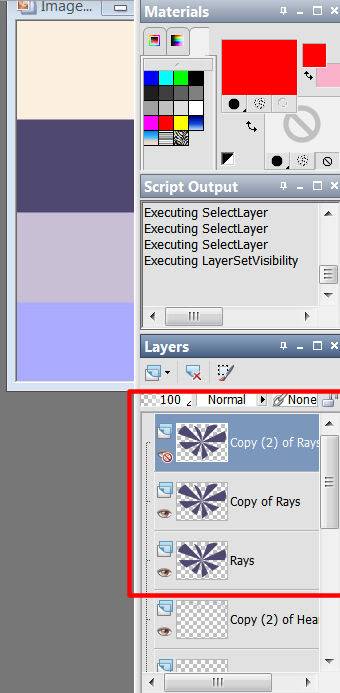
Go to your scalloped later and duplicate it twice. you should now have three of them.
-NOTE I forgot to duplicate it for the third time in my screen shot. Essentially this is what it looks like

Close off the top one and on the middle one, go to effects>3d effects>cutout
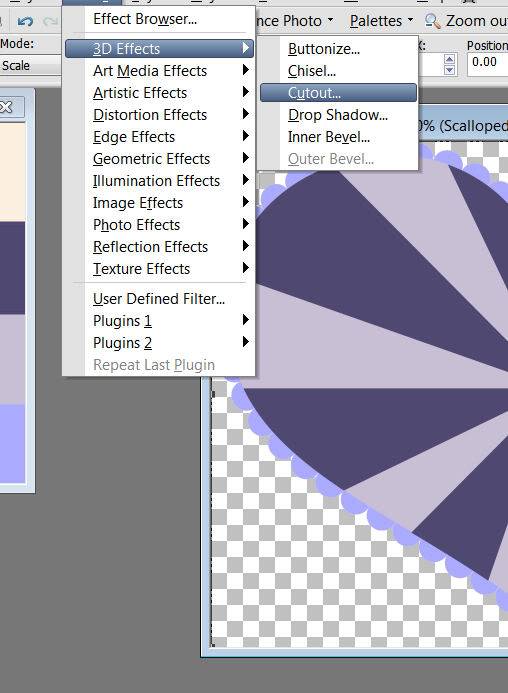
Once you do that this window will pop up with whatever the default is:

We're
going to change that! This is where you can have fun changing the
settings to get the desired depth you want. Move the window to the right
a little so you can see it better. on the color window, click it and
change the color to just a few shades darker than the one you had
originally chosen. This is going shadow it a bit and give it more depth.
You can play with the offset settings, or you can choose mine. Totally
up to you!

Open
up the top scalloped layer. You are going to repeat this process but
remember to do the opposite numbers on the offset you did before. For
example if you did 5 and -5 before you are now going to do -5 and 5.

Now
you are going to move up to the next layer. Duplicate the heart twice
so now you have three layers. Close off the top heart layer

We're going to follow the same process as before! Again you can either choose my settings or mess with it on your own.

Open up the top heart layer and repeat:

Duplicate the top heart layer twice, so you now have three. Close off the top one:
We're going to repeat the process again, remember to use a color a few shades darker than your original!

Last layer! Open the top layer and repeat:

In
the end this is what I came up with! Pretty cool huh? Just a little bit
of shading and contrast can take a simple template into a whole new
direction!

Have fun and use your imagination! | |
|